
What Are Microgreens?
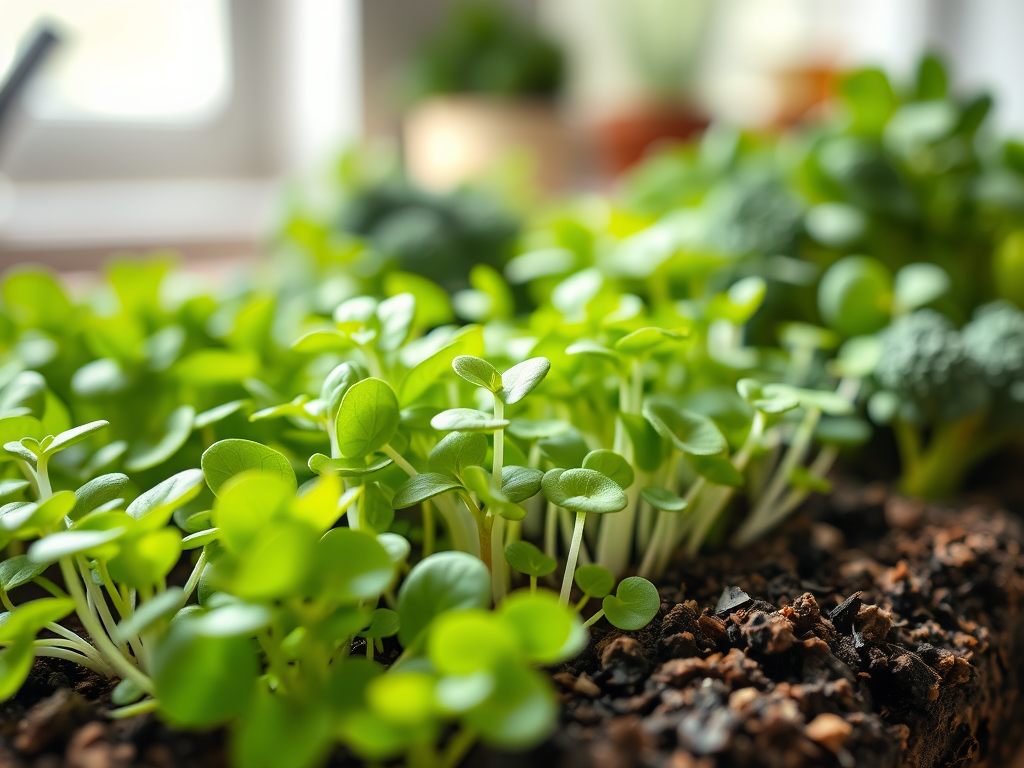
Microgreens are the young seedlings of edible vegetables and herbs. Unlike mature plants that take weeks or months to grow, microgreens are ready for harvest in just 7 to 14 days after the cotyledon (the seed’s first leaf) emerges. These tiny greens grow only a few inches tall but come in over 50 different varieties, each packed with flavor and nutrients.
Originally, microgreens were seen only in high-end restaurants and boutique stores because of their higher cost. This is because, after each harvest, growers need fresh soil, seeds, and sterilized containers or growing mats to start the process again—unlike mature herbs that keep regrowing when trimmed.
Sprouts vs. Microgreens vs. Baby Greens
- Baby Greens: Older than microgreens, baby greens grow multiple sets of leaves. Think baby spinach vs. spinach—similar in taste but smaller and tender.
- Sprouts: Sprouts are newly germinated seeds, typically consumed 2–5 days after soaking. They are crunchy, water-rich, and have a mild flavor since they lack chlorophyll at this stage.
- Microgreens: Harvested at 2–4 weeks old, microgreens develop their first true leaves. They pack intense flavors that resemble their mature forms (e.g., broccoli microgreens taste like broccoli but sharper).
Health Benefits of Microgreens
Though small in size, microgreens are nutritional powerhouses. Research shows they can contain up to 40 times more vitamins and minerals than their fully grown counterparts.
Disease Prevention & Health Support
- Heart Health: Rich in polyphenols, antioxidants that may lower bad cholesterol and triglyceride levels.
- Alzheimer’s Protection: Antioxidant-rich foods may reduce risks associated with Alzheimer’s disease.
- Diabetes Management: Studies suggest fenugreek microgreens improve sugar absorption in cells by up to 44%.
- Cancer Prevention: Polyphenols in microgreens may help reduce risks of certain cancers.
Key Nutrients Found in Microgreens
- Vitamin C – Boosts immunity and skin health.
- Vitamin K – Supports bones and blood clotting.
- Iron, Zinc, Magnesium – Essential minerals for overall well-being.
- Antioxidants – Reduce inflammation and fight free radicals.
Microgreens vs. Mature Vegetables
- Fiber Content: Mature veggies provide more fiber.
- Volume Needed: You’d need a lot of microgreens to match the calories and fiber of a head of broccoli.
- Culinary Use: Mature vegetables are great for cooking (steaming, roasting), while microgreens shine as fresh garnishes, salad additions, or smoothie boosters.
Why Grow Microgreens?
- Fast Harvest: Ready in just 7–14 days.
- Space-Saving: Can be grown indoors on a windowsill, balcony, or kitchen counter.
- Low-Cost & Sustainable: Growing at home is far cheaper than buying store-bought microgreens. Plus, it reduces packaging waste.
Choosing the Right Seeds
Always select organic, untreated, and non-GMO seeds to ensure safe consumption. Popular options include:
- Brassica family: Broccoli, kale, mustard, cabbage
- Herbs: Basil, cilantro, parsley, dill
- Legumes: Peas, lentils, chickpeas
- Others: Sunflower, beetroot, amaranth, radish
MILD FLAVORS

SPICY FLAVOR

HERBS

SHOOTS

Best Growing Mediums
- Soil: Rich in nutrients, beginner-friendly.
- Coconut Coir: Eco-friendly, holds moisture well.
- Hydroponic Mats: Clean option, but may need added nutrients.
Choose a light, well-draining, organic mix for best results.
Step-by-Step: Growing Microgreens at Home
Equipment Needed
- Shallow trays/containers
- Organic soil or growing medium
- Spray bottle for watering
- LED grow lights (if indoors)
- Sharp scissors for harvesting
Growing Process
- Prepare the Tray: Add 1–2 inches of soil or chosen medium.
- Sow Seeds: Spread evenly, don’t overcrowd. Some seeds (like peas & sunflowers) need pre-soaking.
- Water Lightly: Mist with a spray bottle, keeping soil moist (not soggy).
- Cover for Germination: Use a lid/tray for 3–5 days to promote sprouting.
- Light & Air: Once sprouted, uncover and place under sunlight or grow lights for 12–16 hours daily. Ensure good airflow.
- Daily Care: Mist daily to maintain moisture.
- Harvest: After 10–14 days, when true leaves appear, cut just above soil level.
Storage Tips
- Use fresh for best taste & nutrition.
- Store in airtight containers lined with paper towels.
- Refrigerate for up to 1 week.
Common Growing Issues
- Mold: Ensure ventilation, avoid overwatering.
- Leggy Plants: Provide enough light, avoid crowding seeds.
- Uneven Growth: Spread seeds evenly, maintain moisture.
- Rotting: Use well-draining soil.
Best Culinary Uses
Microgreens bring flavor, color, and nutrients to everyday dishes:
- Toss into salads for crunch.
- Blend into smoothies.
- Garnish soups, wraps, and sandwiches.
- Mix into scrambled eggs or omelets.
- Sprinkle over pizzas, pastas, or grain bowls.
Conclusion
Microgreens may be small, but they’re mighty in nutrition and flavor. They’re quick to grow, cost-effective, and versatile in the kitchen—making them a perfect choice for home gardeners, health enthusiasts, and chefs alike. Whether you want to boost your meals with extra nutrients or start a small-scale sustainable food practice, microgreens are a simple yet powerful superfood.


Leave a Reply